Aprendemos a plantar; aprendemos a purificar el medioambiente
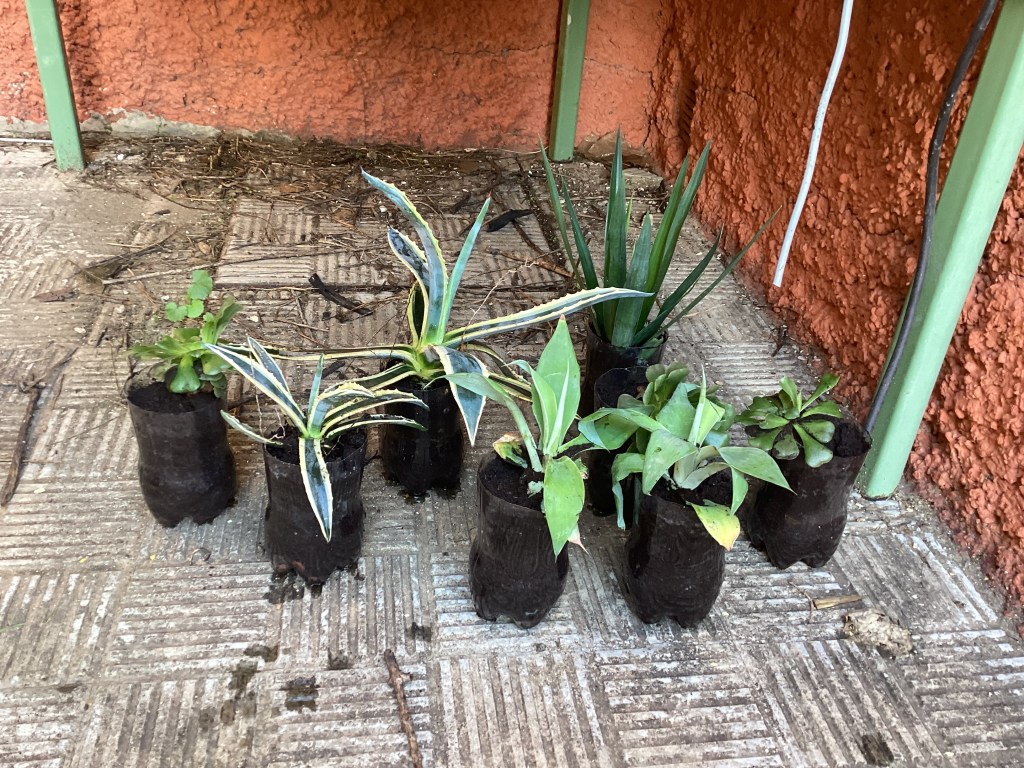
PASO 1: HACER MACETAS CON BOTELLAS DE PLÁSTICO RECICLADAS
Cogemos botellas de plástico vacías y las cortamos por todo el contorno para quitarles la parte superior. Usaremos la parte inferior de la botella y luego haremos de tres a cuatro agujeros para facilitar el drenaje del agua. Luego llevamos los recortes al contenedor verde.
PASO 2: AÑADIMOS CASCOTES PARA EL DRENAJE
Las plantas que hemos elegido se desarrollarán mejor en un suelo bien drenado. Los cascotes ayudarán al drenaje. Una alternativa serían chinos o grava. Añadimos suficientes cascotes para cubrir la base de los recipientes que van a servir de macetas.
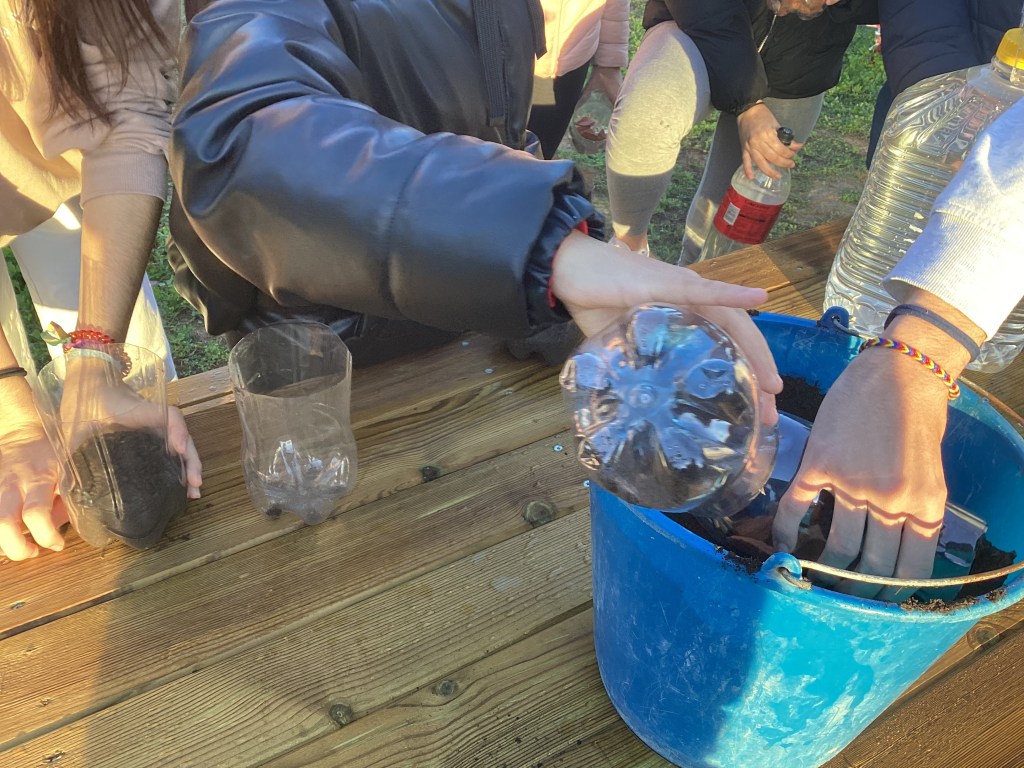
PASO 3: AÑADE LA TIERRA PARA TUS PLANTAS
A continuación, llenamos la maceta hasta los ¾ de su capacidad con un buen compost sin turba. Luego, con las manos, hacemos un agujero en el centro de la maceta, compactando bien la tierra hacia el exterior. Aquí en el centro, se colocarán los distintos tipos de cactuses. Echamos un poco de agua.
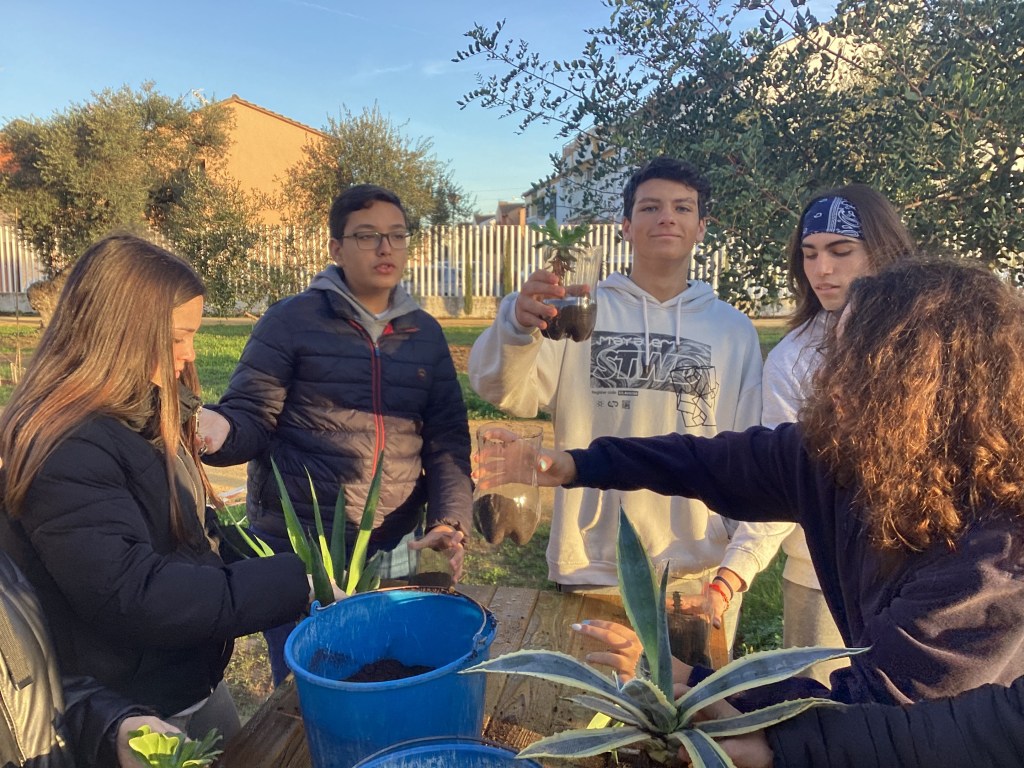
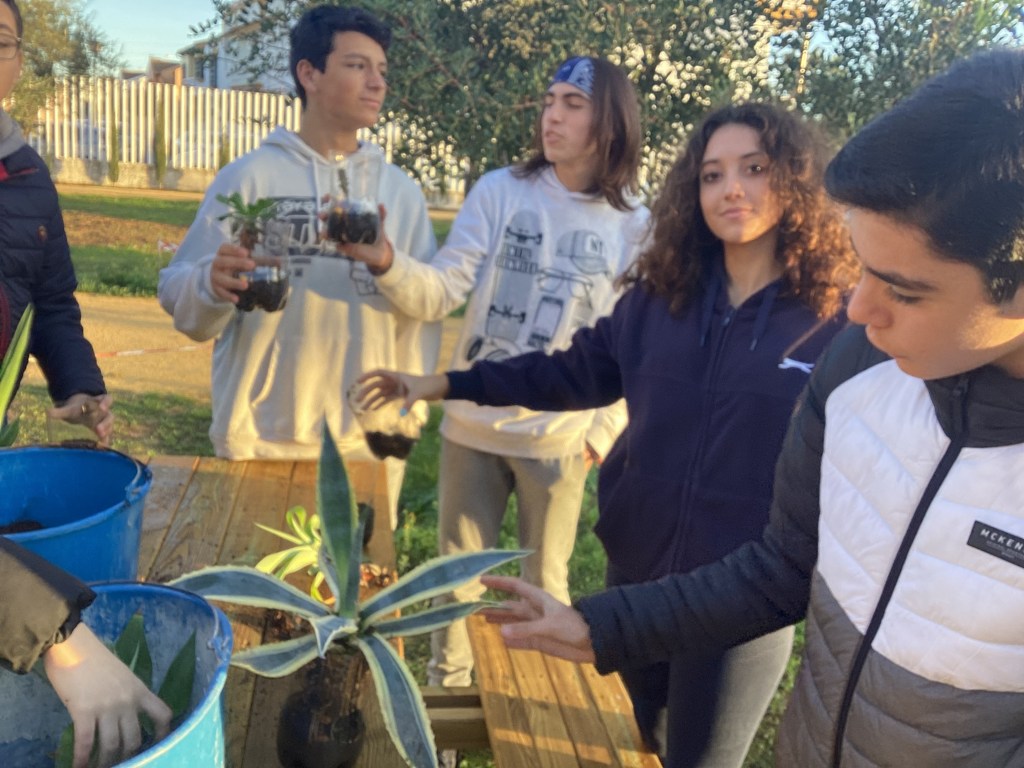
PASO 4: COLOCAMOS EL CACTUS CENTRADO
Comprobamos que el agujero es lo suficientemente profundo para las raíces del cactus. A continuación, colocaremos el cactus en la tierra y compactamos la tierra alrededor de la maceta.
PASO 5: AÑADIMOS ESTIÉRCOL A LAS PLANTAS
Añadimos más estiércol a la planta y presionamos para abajo para apelmazar la tierra de forma que la planta y sus raíces queden perfectamente aseguradas y fijas en la tierra. Dejamos unos dos dedos hasta el borde de la maceta sin cubrir de estiércol.
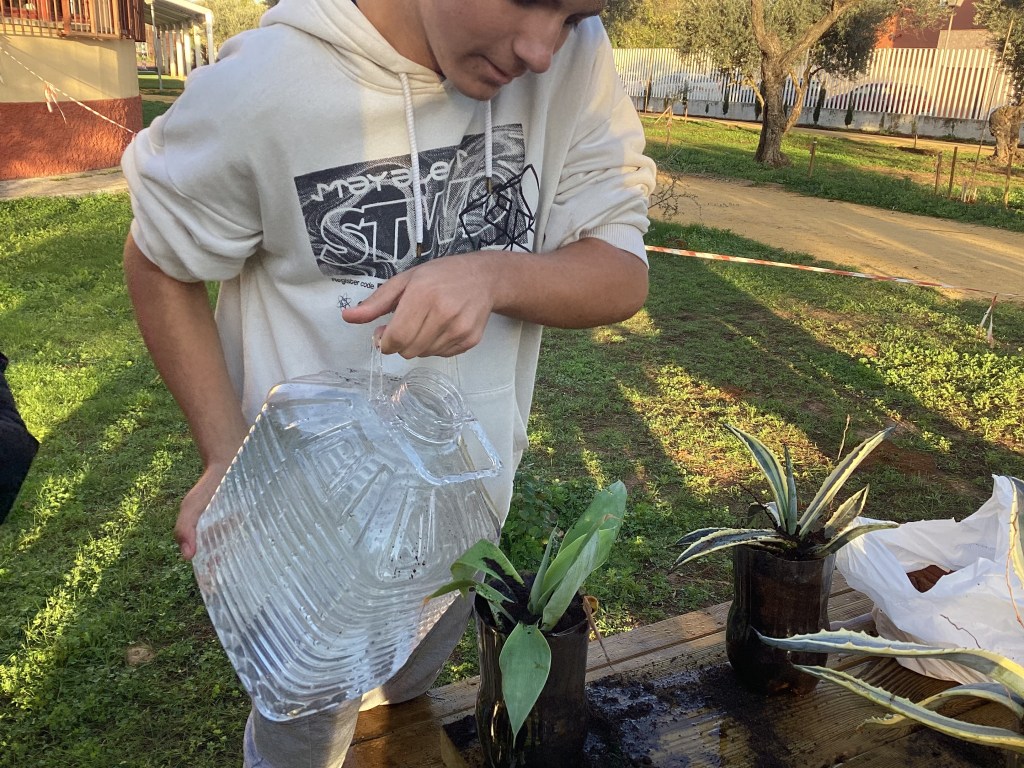
PASO 6 TERMINAMOS CON EL RIEGO
Cuando nos aseguramos de que todas las plantas están bien colocadas, regamos bien el recipiente con una garrafa llena de agua. Regaremos la planta con regularidad y cuando veamos que las plantas hayan enraizado bien (veremos las raíces a través del plástico transparente), haremos un trasvase desde las macetas a algunas de las zonas ajardinadas de nuestro centro.
Learning to plant-learning to purify the environment
STEP 1: MAKING POTS FROM RECYCLED PLASTIC BOTTLES
We get empty plastic bottles and then we cut the bottles all around to take the top part out. We will use the lower part of the bottle and then we´ll make three to four holes to ease water drainage. Then we throw the cut-offs in the green bin.
STEP 2: ADDING CROCKS FOR DRAINAGE
The plants we have chosen will thrive better in well-drained soil. The crocks will help drainage as well as a sprinkling a layer of crocks (or gravel) on top. We Add enough crocks to cover the base and some of the crocks.
STEP 3: ADD THE SOIL FOR YOUR PLANTS
We’ll need to fill the pot to around ¾ full with a good all-purpose peat-free compost from our compost pen. Then, using our hands, we dig a hole in the centre of the pot, packing the soil firmly to the outside so that it stays in place. This will be where the cactuses will be placed. We add a little bit of water.
STEP 4: POSITIONING OUR CACTUSES
We check the hole is sufficiently deep for the cactus. Then we position the cactus in the hole and cover the roots with the soil pressing the soil with our fingers.
STEP 5: SECURE THE PLANTS WITH SOIL
We add some more soil to the pot so that the plant is firm and properly planted in.
STEP 6: FINISH WITH WATERING
Once we are happy that all the plants are firmly in position, we give our pots a good soaking with a water carafe. When learning how to plant flowers in pots, it’s essential to keep watering your container regularly and never allow the compost to dry out completely.